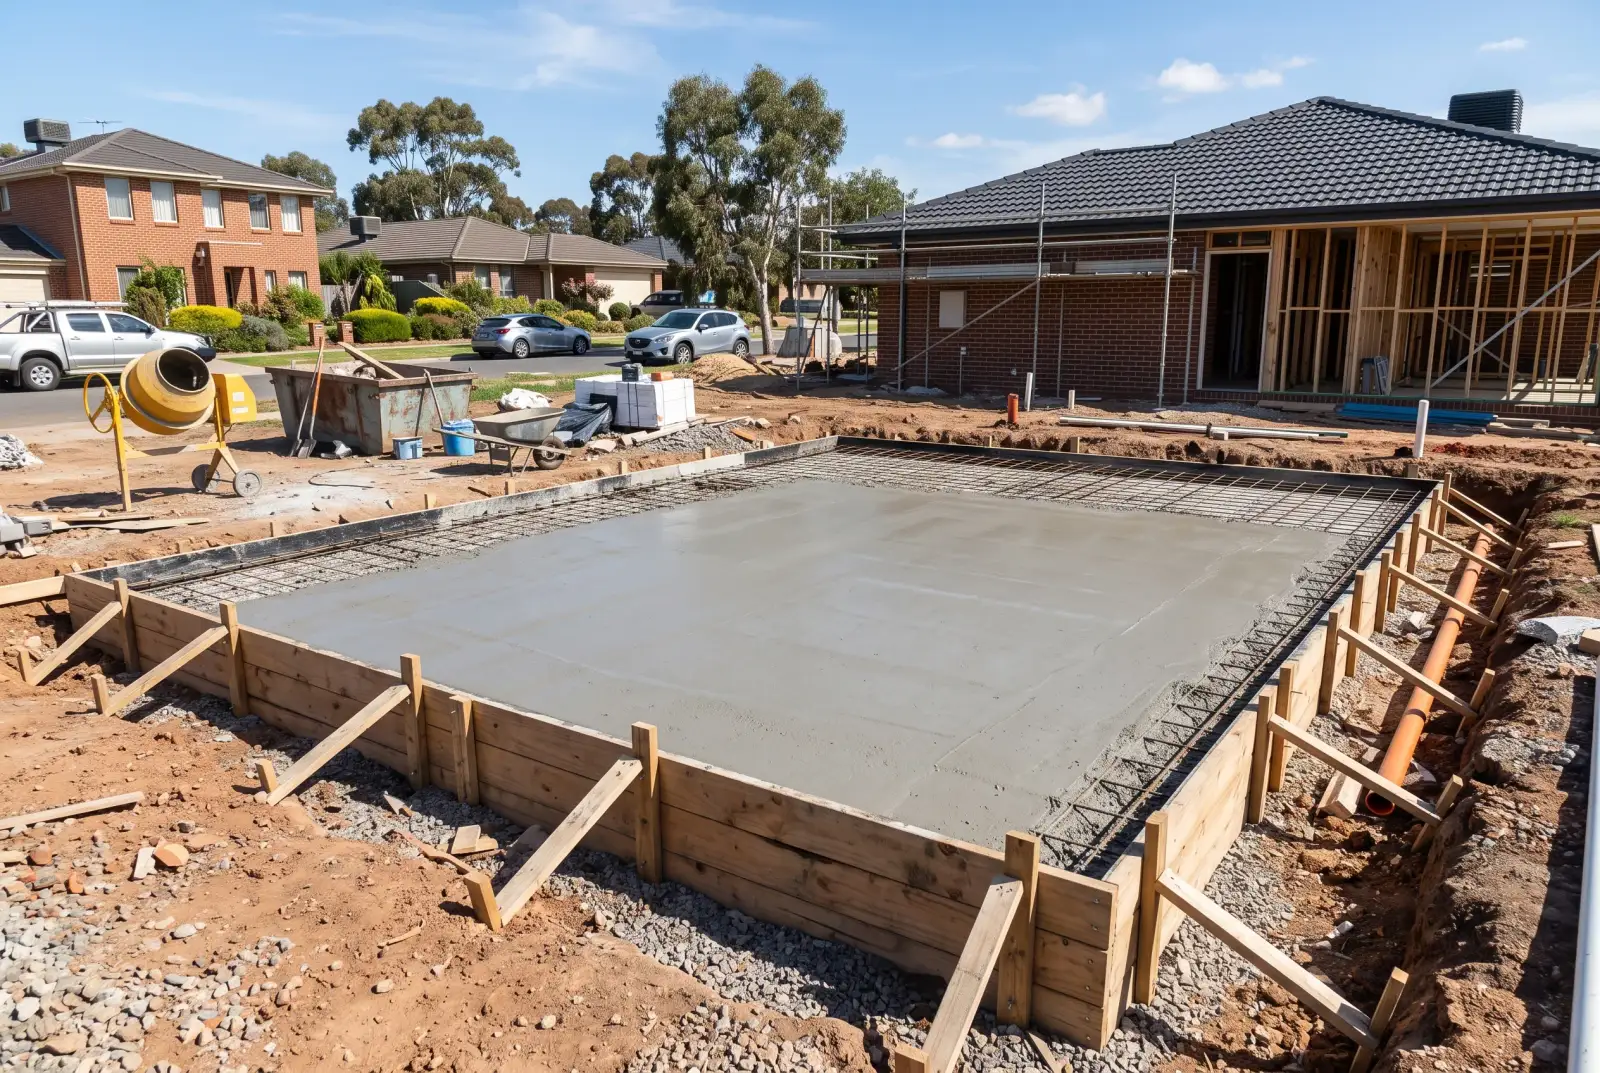
A carport or garage slab looks like a simple square of concrete, but it carries the weight of your vehicle, takes the hold-down loads from the structure above it, and has to shed water away from your doors and walls for decades. After 25 years pouring slabs across the Adelaide Hills, the Mount Barker district and out into the Riverland and Mid North, we have learned that the difference between a slab that ages gracefully and one that cracks, ponds or lifts comes down to thickness, reinforcement, set-out and drainage — the things you cannot see once the concrete is down.
How thick should a carport or garage slab be?
For a standard domestic carport or single/double garage taking cars and light vehicles, a 100mm slab is the typical minimum, with edge thickenings (footings) of 200–300mm deep under the perimeter and anywhere a post or wall frame lands. The flat field of the slab carries the spread load of a vehicle easily at 100mm; it is the concentrated point loads from posts, columns and frame anchors that need the extra depth. Where you intend to park heavier vehicles — a dual-cab with a loaded trailer, a caravan, a 4WD with a camper — we step the slab up to 125mm and review the reinforcement.
The other variable is the ground. Much of the Hills sits on reactive clay (AS2870 classes M, H1 or H2), which swells when wet and shrinks when dry. On reactive sites the slab and its footings have to be designed to move as one unit rather than crack apart, which usually means deeper edge beams and stronger reinforcement than you would use on stable sand. If you are unsure what you are dealing with, our guide to driveway thickness, slope and drainage walks through how thickness decisions get made on different ground.
What reinforcement goes in a garage slab?
The standard reinforcement for a domestic garage or carport slab is SL72 reinforcing mesh sitting on bar chairs so it lands in the top third of the slab, not on the ground. Mesh laid flat on the base does nothing — it has to be lifted to the correct cover (typically around 40mm from the top) to control shrinkage cracking. Sheets are overlapped a minimum of one full grid square and tied.
The thickened edges and internal footings get additional trench mesh or N12 reinforcing bar running through them, lapped into the slab mesh, so the perimeter beam and the floor act together. Where posts carry significant roof load — a wide span carport, a high-pitched gable — we may form an isolated pad footing under each post with its own bar cage. The structural mesh and bar layout should be matched to your soil class and the span of the structure; for a deeper look at how we stop slabs cracking in the first place, see why concrete cracks and how we prevent it.
Why set-out square to the structure matters
The most common avoidable problem with a carport or garage slab is a slab that does not match the building that sits on it. If you are pouring under a kit carport, a garage shed or a steel frame, the slab has to be set out square, level and dimensionally accurate to the manufacturer's footprint — including the exact post-centre spacings and the diagonal measurements so the corners are true 90 degrees. A slab 30mm out of square or 50mm short on a diagonal will fight the kit when the builder tries to stand the frame, and the holes for hold-down bolts will not line up.
We work directly from the kit plan or the shed company's slab drawing wherever one exists. Get this right at the set-out stage with profiles and string lines and the rest of the job goes smoothly; get it wrong and no amount of finishing skill will fix it.
Falls, thresholds and drainage
A garage or carport slab must drain. We set a fall of around 1:100 (roughly 10mm per metre) running toward the door opening or toward a deliberate low point, so rain, hose water and the water that runs off a wet car all flow away from the back wall rather than pooling against it. An open carport slab is exposed to driven rain, so the fall matters even more than in an enclosed garage.
At the door opening we form a clean threshold or set-down so the internal floor finishes slightly above the external apron and the door seal has something to close against. Where the slab meets an existing surface or a drain, we tie the levels together so there is no lip to trip on and no ridge that traps water. On sloping Hills blocks we will often add a grated drain or a spoon drain across the opening to catch the sheet of water coming down the driveway before it reaches the garage.
Vapour barrier for enclosed garages
Any enclosed garage — and certainly any garage you might one day line, heat, or convert to a workshop, gym or rumpus — needs a vapour barrier (damp-proof membrane) under the slab. This is a polyethylene sheet (typically 0.2mm / 200 micron) laid over the compacted base and sand blinding, lapped at the joins and turned up at the edges, so ground moisture cannot wick up through the concrete and into the room above. Without it you get a permanently damp floor, sweating in humid weather, and problems with anything you later glue or lay on top.
An open carport that will only ever park a car does not strictly need a membrane, but the cost is small and we usually recommend it anyway, especially on damp or shaded sites. It is a lot cheaper to lay plastic now than to retrofit a moisture solution later.
Fixing and hold-down bolts for carport posts
Carport and shed frames are anchored to the slab, and there are two ways to do it. Cast-in hold-down bolts are positioned in the wet concrete to the exact post-centre dimensions from the kit plan, held in place with a template so they cannot move while the slab is finished and cured. This gives the strongest fixing and is our preference where we have the kit plan in hand before the pour.
The alternative is chemical or mechanical anchors drilled and fixed after the slab has cured, which gives more flexibility if the frame arrives late or the post positions are not confirmed at pour time. Both are sound when done properly; the key is getting the right bolt in the right place to the right embedment depth, which again comes back to having an accurate set-out. We will talk through which approach suits your job, the same way we cover it for shed builds in our notes on what to know before pouring a farm shed slab.
Choosing a finish: steel-trowel or broom
For an enclosed garage floor we usually recommend a steel-trowel finish — smooth, hard-wearing and easy to sweep and mop, which is what you want indoors. For an open carport, exposed apron or any slab that gets wet, a broom finish is safer because the light texture gives grip underfoot and under tyres when the surface is wet. Some clients want a bit more visual character, in which case exposed aggregate or coloured concrete is an option for the apron and surrounds; our exposed aggregate work pairs well with a plain trowelled garage floor inside.
A few finish pointers we give every client:
- Match the finish to the use — smooth for dry indoor floors, textured for anything that gets wet.
- Plan your control joints — saw-cut or tooled joints break the slab into panels so shrinkage cracking happens in straight, neat lines rather than randomly across your floor.
- Cure it properly — a slab that is allowed to dry too fast will craze and dust. See how long concrete takes to cure and dry for what to expect after the pour.
- Seal it if you want it to stay clean — a sealed garage floor resists oil and tyre marks far better than bare concrete.
Tying into the driveway
The garage or carport slab rarely exists on its own — it meets the driveway, a path or an apron. We tie these together so they move predictably, usually with a tooled or sawn control joint or an expansion joint at the junction, rather than letting two slabs of different ages and thicknesses fight each other and crack at the interface. Matching the falls across that junction is what stops water sheeting back under the door. If your driveway is being done at the same time, doing both with one crew means the levels, falls and finishes line up exactly; see our concrete driveways service for how we approach the full run from street to garage.
Council, boundaries and approvals
A carport or garage is a structure, and in South Australia that can mean development approval and building rules consent depending on size, height, position and how close it sits to a boundary. Setbacks from boundaries and from the street frontage are the issues that most often catch people out, and they vary between councils across the Hills and beyond. The slab is part of the structure, so it pays to confirm approvals before you pour. Our guide to driveway and crossover council approval in SA covers the approvals side, and we are happy to point you in the right direction for your council — we work right across the Mount Barker district and the wider Hills.
Earthworks and site prep come first
No slab is better than the base it sits on. Before any concrete, the area is stripped of topsoil and vegetation, cut and filled to level, and built up with compacted road base or quarry rubble blinded with sand. On sloping or boggy Hills blocks this earthworks stage is the difference between a slab that sits still and one that settles and cracks. Doing the earthmoving and site prep and the pour with the one crew keeps the levels honest and avoids the finger-pointing that happens when two contractors hand off to each other. Our shed and house slabs service covers the whole sequence from site cut to finished floor.
If you are working on a rural block, the same principles scale up — see concrete for rural and farm properties for machinery sheds, dairies and laneways. And before the truck arrives, our advice on how to prepare for a concrete pour will help your job run smoothly.
Frequently asked questions
How thick should a garage slab be?
For a standard domestic garage taking cars and light vehicles, 100mm is the typical slab thickness, with thickened edges of 200–300mm under the perimeter and under any post or wall frame. Step up to 125mm for heavier vehicles or trailers. On reactive Hills clay (AS2870 class M, H1 or H2) the edge beams and reinforcement are designed deeper so the slab moves as one unit. Reinforcement is usually SL72 mesh on chairs with trench mesh or N12 bar through the thickenings.
Do you pour to a kit carport or shed plan?
Yes — we work directly from your kit carport, garage or shed plan, setting the slab out square and dimensionally accurate to the manufacturer's footprint, with post-centre spacings and diagonals checked so the frame stands true. We position cast-in hold-down bolts to the plan, or set the slab up for drilled chemical anchors if the frame arrives later. For an accurate price for your build, see our shed slab cost guide or get in touch with your plan and we will quote it.